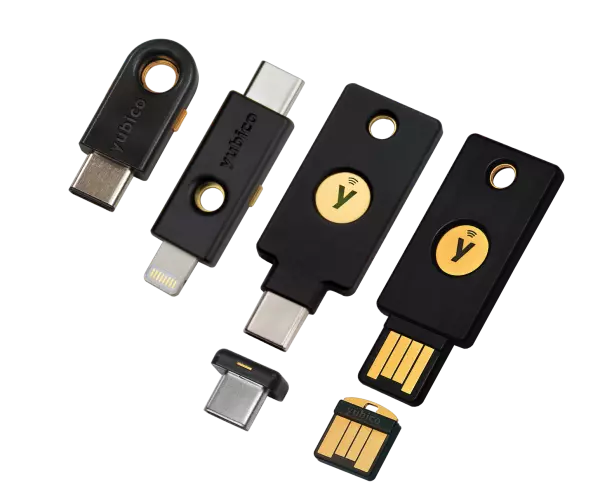
This guide assumes your YubiKey is already set up to work with PGP/GPG (by which I mean, you got your keys set up on your YubiKey).
Note that the parts with pointy brackets <> in the following guide are for you to replace with your own values.
If you’re on Linux or Mac, skip to step 3!
1. Installing Gpg4win (GnuPG on Windows)
Download and install Gpg4win from here.
2. Install Git for Windows
Download and install Git for Windows from here.
3. GitHub setup (if you’re using GitHub)
- Make sure the email address from your PGP key is added to your GitHub account: https://github.com/settings/emails
- Make sure your PGP public key is added to your GitHub account: https://github.com/settings/keys
4. Git config email
Make sure the email address from your PGP key is also your commit email:
git config --global user.email <YOUR EMAIL>5. Git config PGP/GPG
Make sure Git knows which PGP key to use, first figure out the PGP key ID with:
gpg --list-secret-keys --keyid-format LONGthen copy the key ID of the key you want and tell git to use it with:
git config --global user.signingkey <YOUR KEY ID>Get and copy the path of GnuPG by running “where gpg” in a Windows CMD or “which gpg” in a Linux & Mac terminal, then make sure Git knows where your PGP (GnuPG) program is located with:
git config --global gpg.program "<YOUR PATH>"Tell Git to sign commits:
git config --global commit.gpgsign trueThat’s all there is to it!
Author’s notes
If you prefer not to configure things globally and instead just want to have the config per-repo, replace --global with --local in the above commands.
On Ubuntu, you likely have to install the packages scdaemon and pcscd for your YubiKey to work (sudo apt install scdaemon pcscd).
On Mac, you have to download and install GPG Suite from here.
Leave A Comment