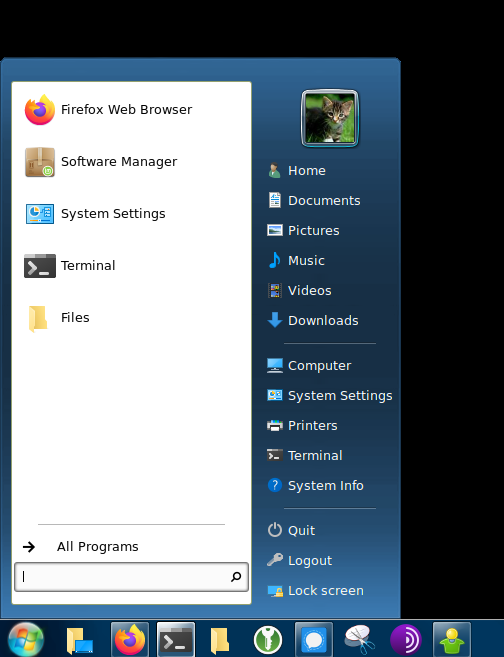
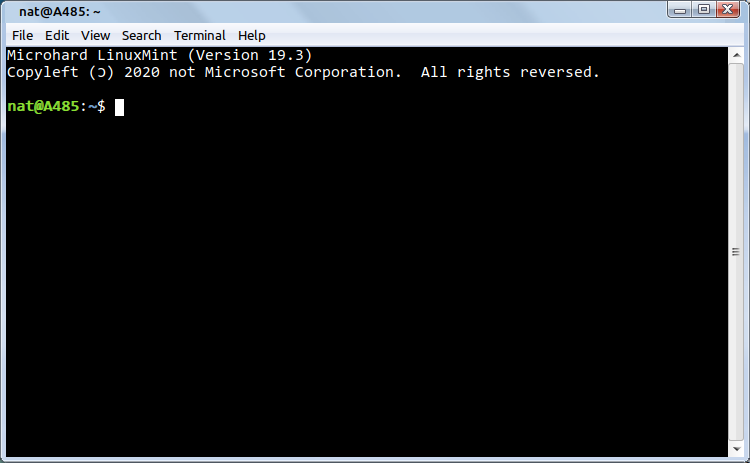
Today I thought I’d share a few screenshots of my Linux Mint desktop, which I got to look kinda like Windows 7. The advantage of doing this is that you might be able to get some users to use Linux Mint if they have an environment they are comfortable in. I will also share how you can do this yourself!
This can be applied to any Cinnamon or GNOME-based desktop! Probably MATE too!
Terminology
You should know that things are called differently on Windows and Linux Mint. Here’s a little dictionary for you:
Task Bar     = Panel
Start Menu   = Applications Menu
Start Button = Menu Button
Windows Key  = Super Key
You should know that you can have multiple panels on Linux Mint, while you can only have one taskbar on Windows.
The Start Menu (Applications Menu)

The “start menu” can be found at the Linux Mint “spices” page here,
or alternatively right-click on the “task bar” (panel) at the bottom, choose “Applets”,
click on the “Download” tab and if asked to download updates, say yes.
Now look for “CinnVIIStarkMenu” in the top right search bar and install it.
Now go back to the “Manage” tab and click on “CinnVIIStarkMenu” and then the plus at the bottom to add it.
Search for the default “Menu” applet and click on it, and then remove it by clicking on the minus at the bottom.
Next you’ll want to place the start menu buttom all the way to the left. To do this, right-click on the “task bar” (panel) and choose “Panel edit mode”, now you can simply click, hold and drag the start button all the way to the left.
Right-click on the “task bar” (panel) again, and uncheck “Panel edit mode”.
The Windows 7 “Aero” Theme
Now, you might have thought: OK but this does not look like Windows 7 yet. That’s right! We now have to install the theme!
In preparation, open a terminal (you can do this by pressing CTRL + ALT + T or looking for it in the applications menu) and enter the following commands:
mkdir -p ~/.themes
xdg-open ~/.themes
You can now close the terminal window, but leave the opened folder opened!
Now download the latest release found here https://github.com/B00merang-Project/Windows-7/releases/latest and click on “Source code (zip)” to download it. Click the zip file to open it, and drag and drop the Windows-7 folder from the archive into the themes folder we opened previously.
You can now close all the windows we opened.
Now click on the “start menu” and search for “themes” and open it. Now for the following items in the list, you’ll want to click them and then choose the Windows 7 theme: Window borders, Controls, Desktop.
Now it should look more like Windows 7, but there are two things missing: The icons and the cursor. We will do those next!
The Windows 7 icons and cursor
Open a terminal again and type these commands:
mkdir -p ~/.icons
xdg-open ~/.icons
Now we will install the Windows 10 icon pack (yes, 10! It works better with the latest Linux Mint version when I tested it)
Download the latest release from here as before https://github.com/B00merang-Artwork/Windows-10/releases/latest and extract it into the icons folder as before. Now repeat this for the cursor pack found here https://github.com/Infinality/mouse-cursors/blob/master/aero.tar.gz?raw=true and drag and drop it to the icons folder.
Now again, look for “themes” in the start menu, and this time click on “Icons” and choose Windows-10, and then click on “Mouse Pointer” and choose “aero”.
You can now close all the windows we opened.
Fixing the Start Button
You might have noticed that the Linux Mint icon is over the Windows 7 button icon. To fix this, right-click on the “Start Button”, switch to the “Panel” tab, and click on “Use a custom icon and label” but don’t choose an icon! Then, underneath that, mark the “Text” field and empty it. You can now close that window.
Conclusion

It is effortless and straight forward to make your Linux Mint installation look like Windows 7! This can also be applied to any other Cinnamon or GNOME desktop! I hope this helped you out. Now get some people to use Linux, now that Windows 7 is officially dead!
Leave A Comment